
" Source: dotshock / Shutterstock.com A tile trowel, also called a notched trowel, is your primary tool when laying tiles. But if you don’t know what you’re looking for, a trip through the hardware store may leave you confused. There are different types of notched trowels in what seems like an endless array of sizes, and buying the wrong type may leave you unable to complete your tiling. Make sense of the different types and sizes of tile trowels, learn how to use each one, and find out how to choose the right one for your project. Shop Our Trowel Tools
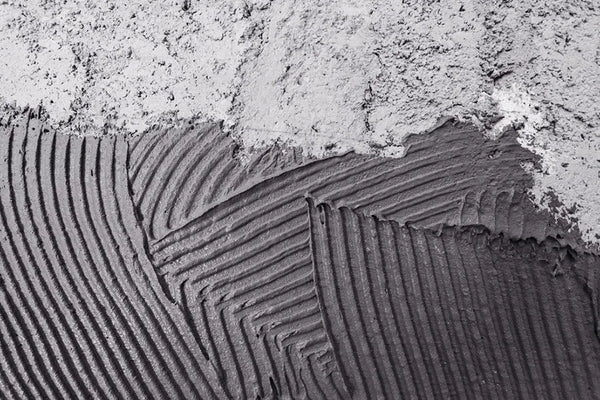
Tile trowels come in three main shapes: Square notched, U-notched, and V-notched. You’ll find an array of notch sizes within each category suitable for various tiling projects and applications. Before getting into the details of notch sizes, you must first understand the difference between square-notched and V-notched trowels. In essence, the shape of the notches determines the orientation of your working surface. Square-notched tile trowels are intended for horizontal applications, such as floor tiles. In contrast, V-notched trowels are best suited for vertical surfaces, such as walls. It’s easy to remember which notch type corresponds to what application using a simple mnemonic aid: V for vertical work (walls), while square notches are square like the letter H, so H-notch trowels are for horizontal work (floor). U-notched trowels work similarly to their square-notched counterparts, with the only difference being that they leave rounded ridges of mortar instead of square-shaped ones. Rounded ridges are easier to apply, but this shape effectively leaves less mortar than square equivalents. Outside of the quantity of mortar delivered, U-notched and square-notched are virtually interchangeable. Source: DUO Studio / Shutterstock.com
Although these specifications are meant for professional and industrial applications, they apply regardless of the tool used, from hand trowels to trowel machines. The best technique for testing whether your tiles are getting the proper coverage is to apply a single tile over your mortar, then pull it back up and observe the amount spread on the backface. If the mortar is not distributed evenly or leaves more than 15% of blank spots (or 5% in wet rooms), your trowel may not be producing adequate coverage.
Keep Your Tiles Leveled with These Tools
Trowel size charts typically employ pairs of lengths used to measure the size and spacing of each tooth. When reading tile trowel size notation, the first number refers to the width between each tooth (or the width of the notches), whereas the second number is the notch depth. Some manufacturers only list a single number; this means that the value is the same for both width and depth. For example, if you have a ¼"" x ⅜"" square-notched trowel, you will create square mortar ridges that are ⅜"" high, ¼"" wide, and with ¼"" spacing between each ridge. If you have a ½"" trowel, it will let you make ½"" tall, ½"" wide ridges, with ½"" spacing between each one.
Source: DUO Studio / Shutterstock.com
Use our list as a guideline. Remember that, as long as your trowel produces adequate mortar coverage, you should get good results.
Trowel size and design can have a big impact on the finish and longevity of your project. Our team at Contractors Direct can assist you with any questions about trowel size or tiling you might have. If you need a trowel for your next home improvement project, visit Contractors Direct. We are America’s leading online supplier of tools and equipment for all of your tiling and stone-laying projects. Explore our full selection of tools and equipment online.